🌍 Translation
The Translation Management system in Ultimate RepairShop allows you to localize your application and serve a global audience with ease. You can add new languages, manage existing ones, and translate every part of the UI.
🧠 Heads-up: No coding required — translations are fully manageable via the admin panel!
✨ Key Features
Add and manage languages
Edit UI text and labels in any available language
Translate entire modules, notifications, and settings
Seamless language switching from user settings
➕ How to Add a New Language
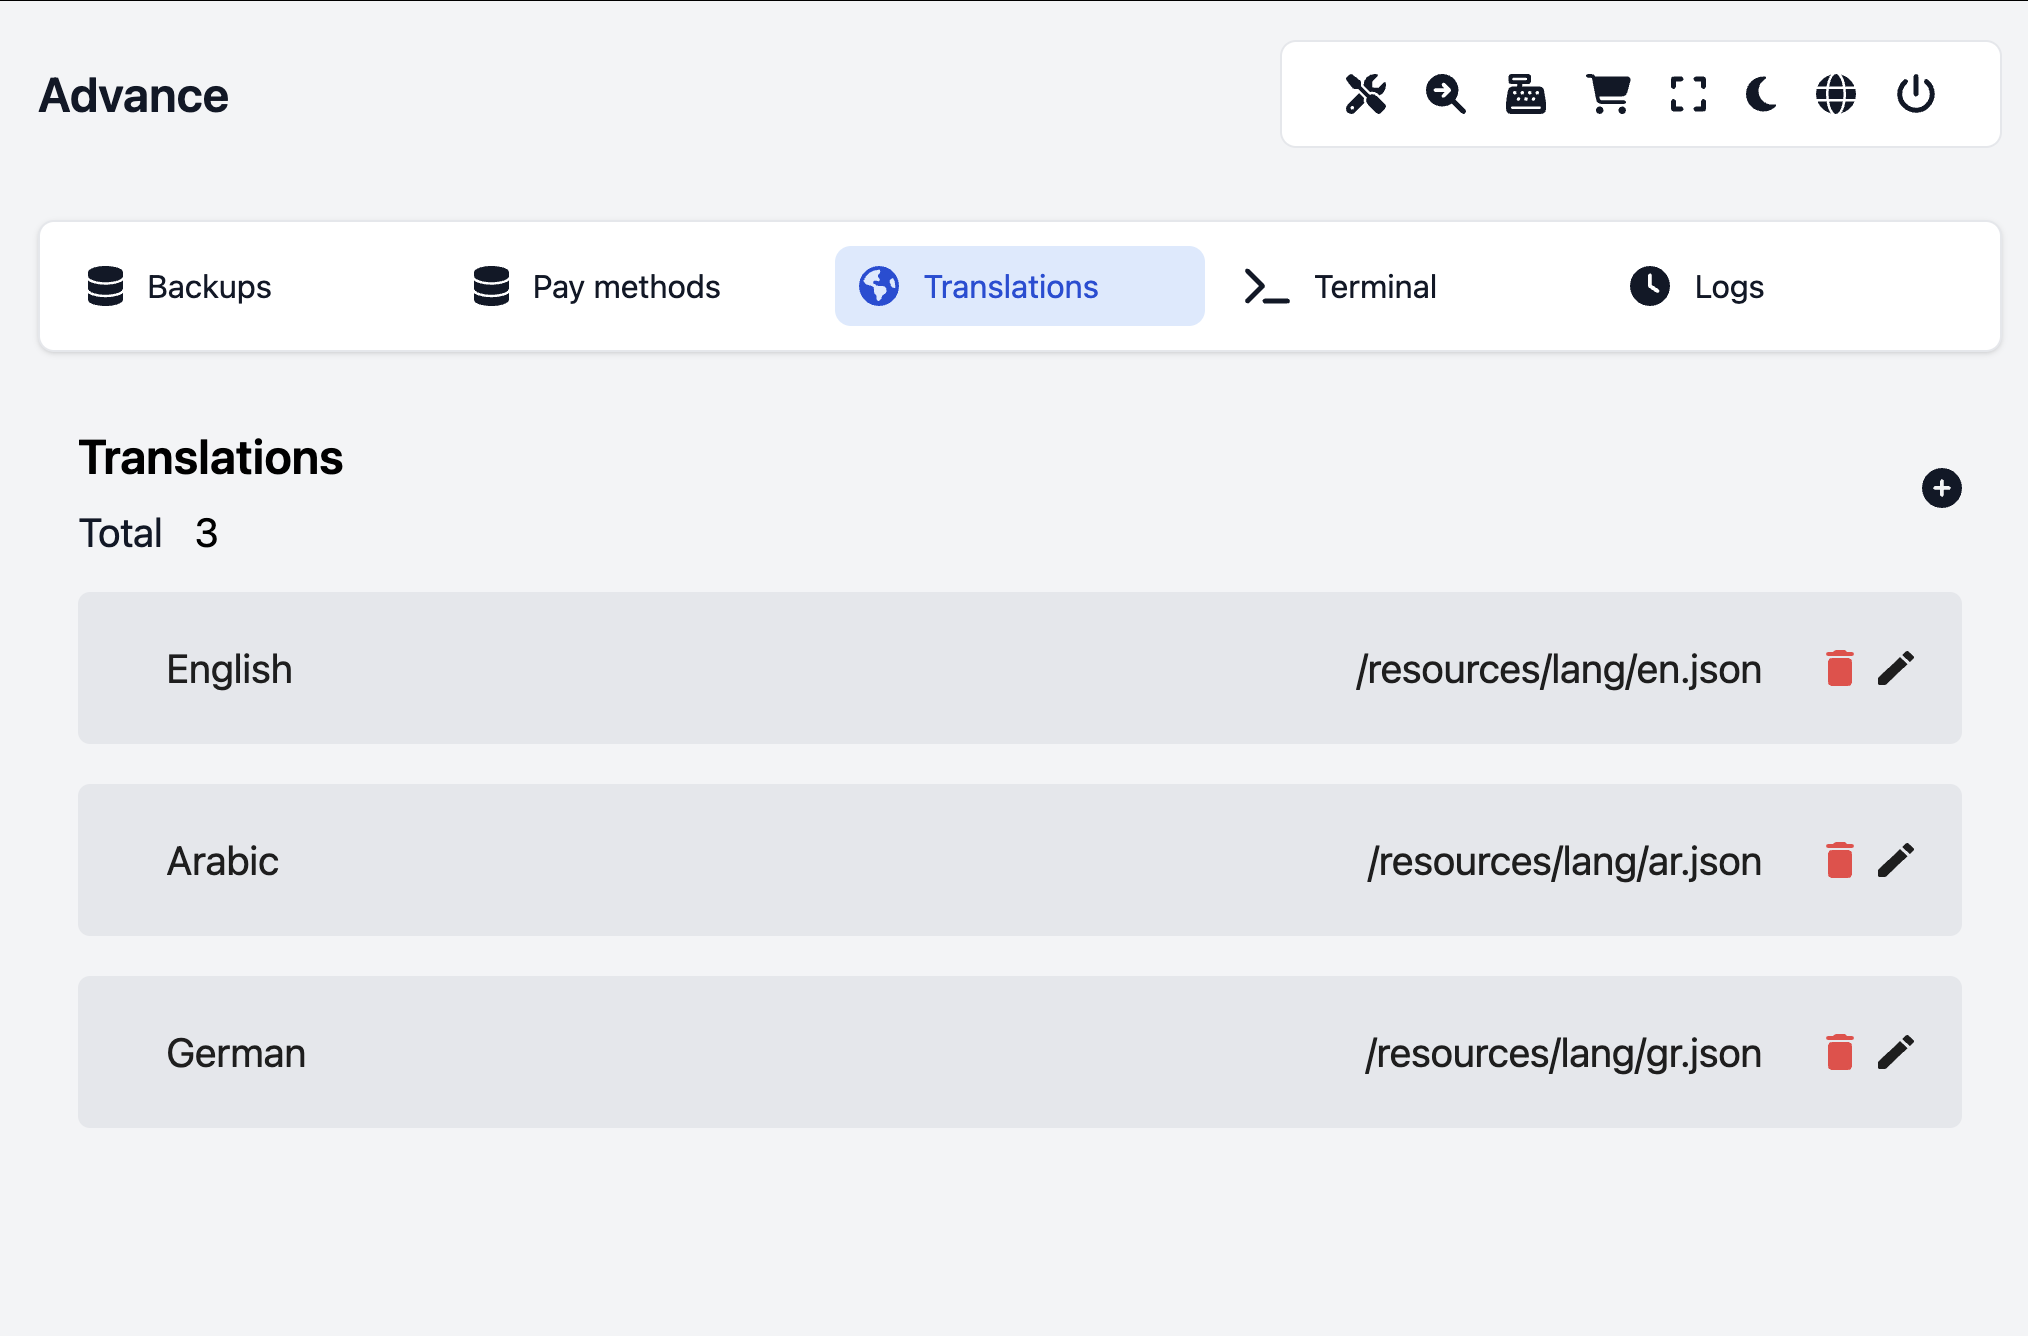
Go to Settings > Translation Management
Click on “Add New Language”
Enter:
Language Name (e.g., French)
Locale Code (e.g., fr, de, es)
Click Save
Your new language will now appear in the list and can be selected for translation.
🌐 Translating the Application
Once a language is added, follow these steps to provide translations:
Click on the “Manage” button next to the language
You’ll see a categorized list of translatable keys (grouped by modules like POS, Repair, Invoices, etc.)
Simply:
Edit the text field next to each label/key
Hit Save when done
✅ Changes are reflected in real time across the app for users who choose that language.
🧩 Where Are Translations Applied?
Dashboard & UI components
POS system
Reports and printable invoices
Notifications and Emails
Tooltips and form labels
Modules like Repair, Sales, Cashbook, and more
🌙 Dark Mode? RTL Support?
Yep! If your translation involves a Right-to-Left (RTL) language like Arabic or Urdu, the app’s layout will auto-adjust accordingly for the best user experience.
🧠 Pro Tip: Default Language
You can set your default language under the General Settings > App Configuration.
📌 Best Practices
Use accurate locale codes (e.g., en, fr, ar, tr)
Avoid automated translation — especially for technical terms
Always double-check module-specific labels after saving