# Installation
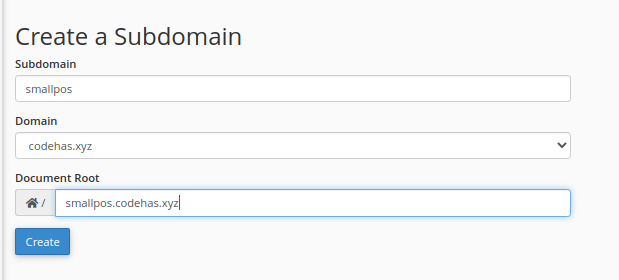
Once you download installation files after purchase, you just need to add **/public** to your domain's "Document Root". path.
{% hint style="danger" %} **NO SUPPORT FOR THE LOCAL SERVER**
{% endhint %}
Suppose In the above image **codehas. xyz** is your domain, you are going to create a subdomain which will be **smallpos.codehas.xyz,** and the **Document Root** will be **"smallpos.codehas.xyz"**.Here the application needs to index the form directly **"/public"**. so simply add or append just `/public` in document root as shown in the image below.
{% hint style="info" %}
**Are you looking for a customized version or a** [**Pro version**](https://1.envato.market/g1BZdA)**?**
We have a [professional version](https://1.envato.market/g1BZdA) available, and we can create a private customized version with your desired features and functions to provide you. please feel free to contact us at
{% endhint %}
{% hint style="info" %}
**Note:** This is an example for a subdomain to understand the document root path index, the same as the document root should index in the case of the main domain.
You can skip this recommended method (explained above) by creating just one file,
create a file (.htaccess) on the root directory of the application after uploading and extracting then write the following lines inside the .htaccess file.
File content for (with the name of **.htaccess**)
```
RewriteEngine On
RewriteRule ^(.*)$ public/$1 [L]
```
{% endhint %}
then hit create to a subdomain,
**Follow step by step:**
* Copy/Upload the folder and files to your web server using **cPanel** or FTP.
* If you are installing in a subfolder, please make sure there is no space in folder names.
* Create a Mysql database, database user, and grant all permission to use this database
{% hint style="info" %}
let's see a common way to [create a MySQL database](https://support.hostinger.com/en/articles/1583542-how-can-i-create-a-new-mysql-database) and read more common [information related database](https://support.hostinger.com/en/collections/944793-mysql-databases).
{% endhint %}
* Open the `http://yourdomain.com/install.php`
* Before installing the system will check the required list - If there is an issue with the checklist You will need to fix it first to proceed to the next step
*
```
```
* Enter your database information and click on save,
*
```
```
```
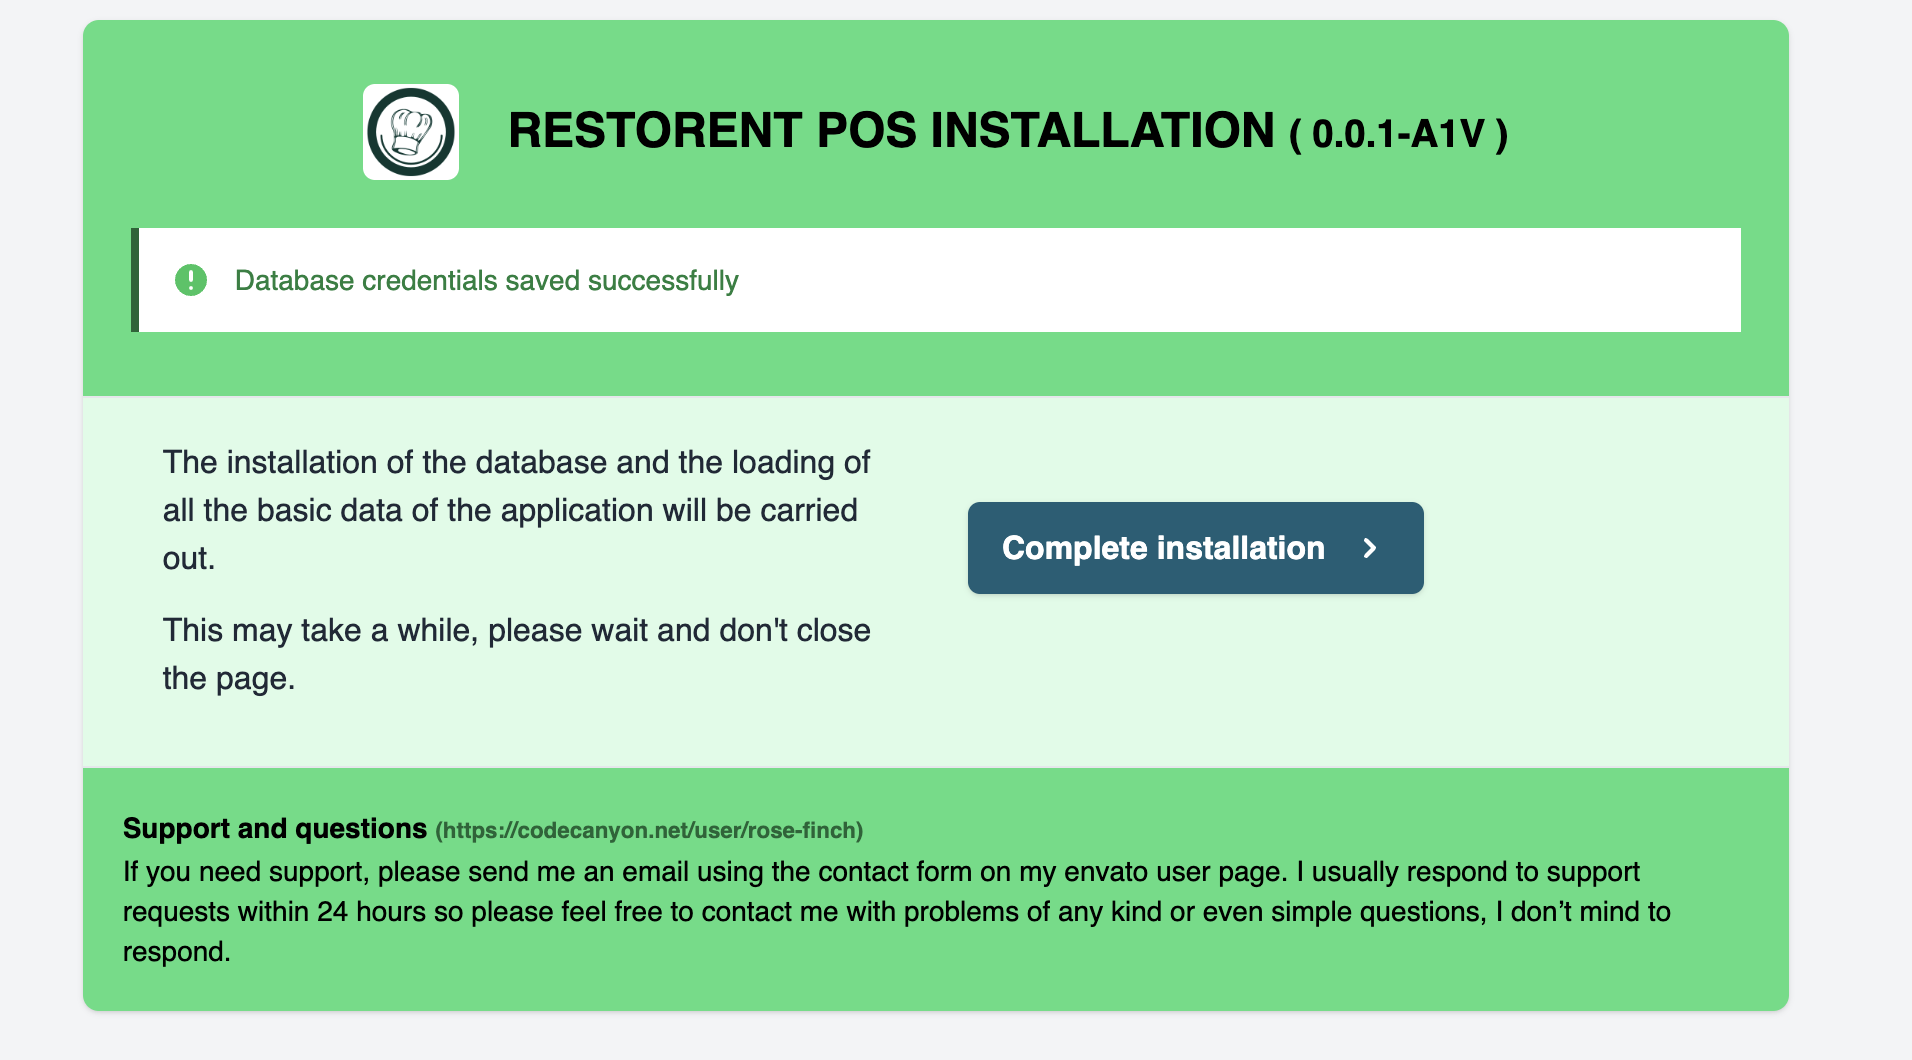
Click on Complete Installation and wait for a while.
```
\*
```
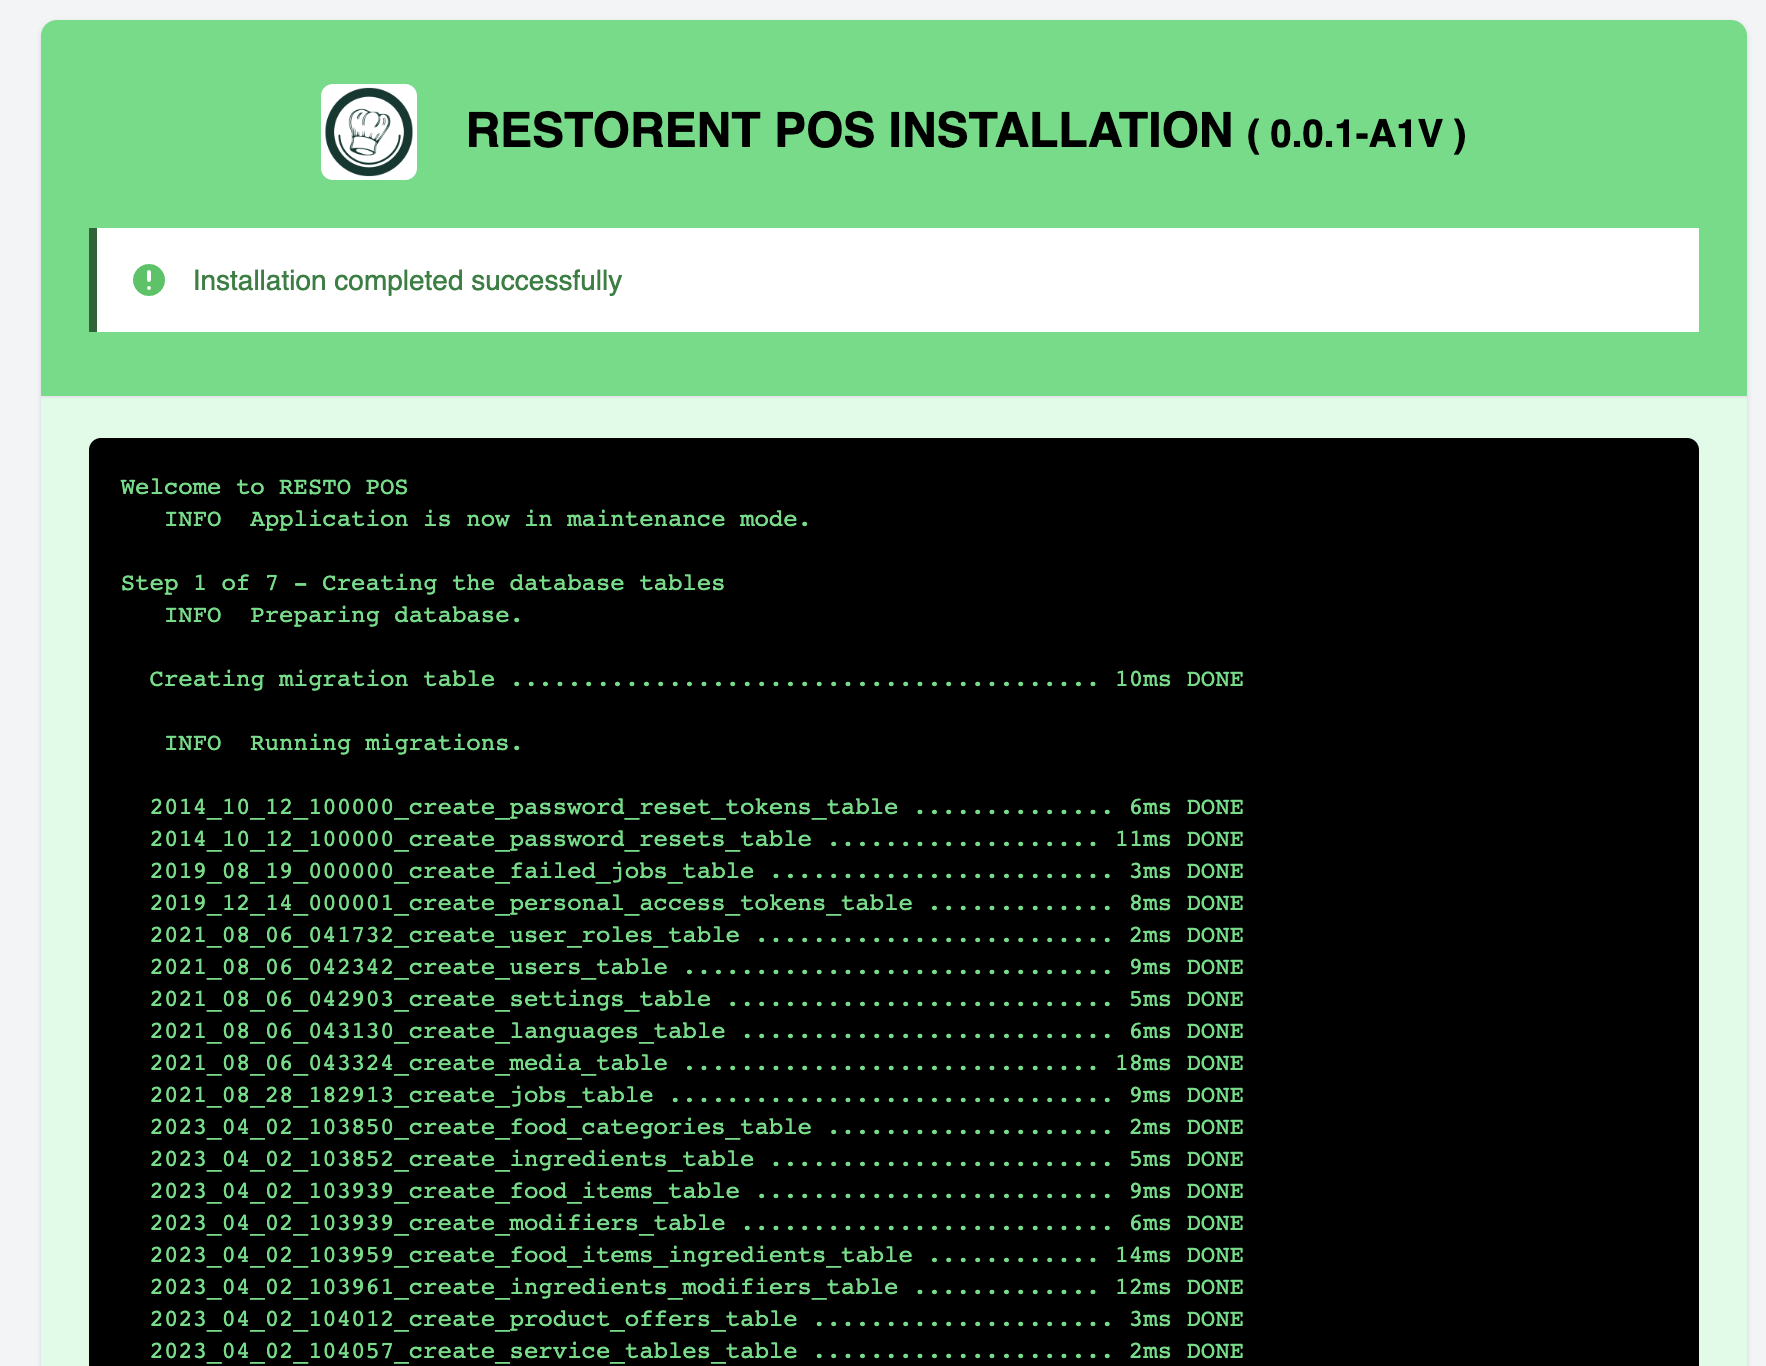
Scroll down more...
```
\*
```
```
The Installer will make sure about the required extensions are installed or not. If all required extensions are installed fill in your server credentials, and database information and hit begin to install.
{% hint style="warning" %}
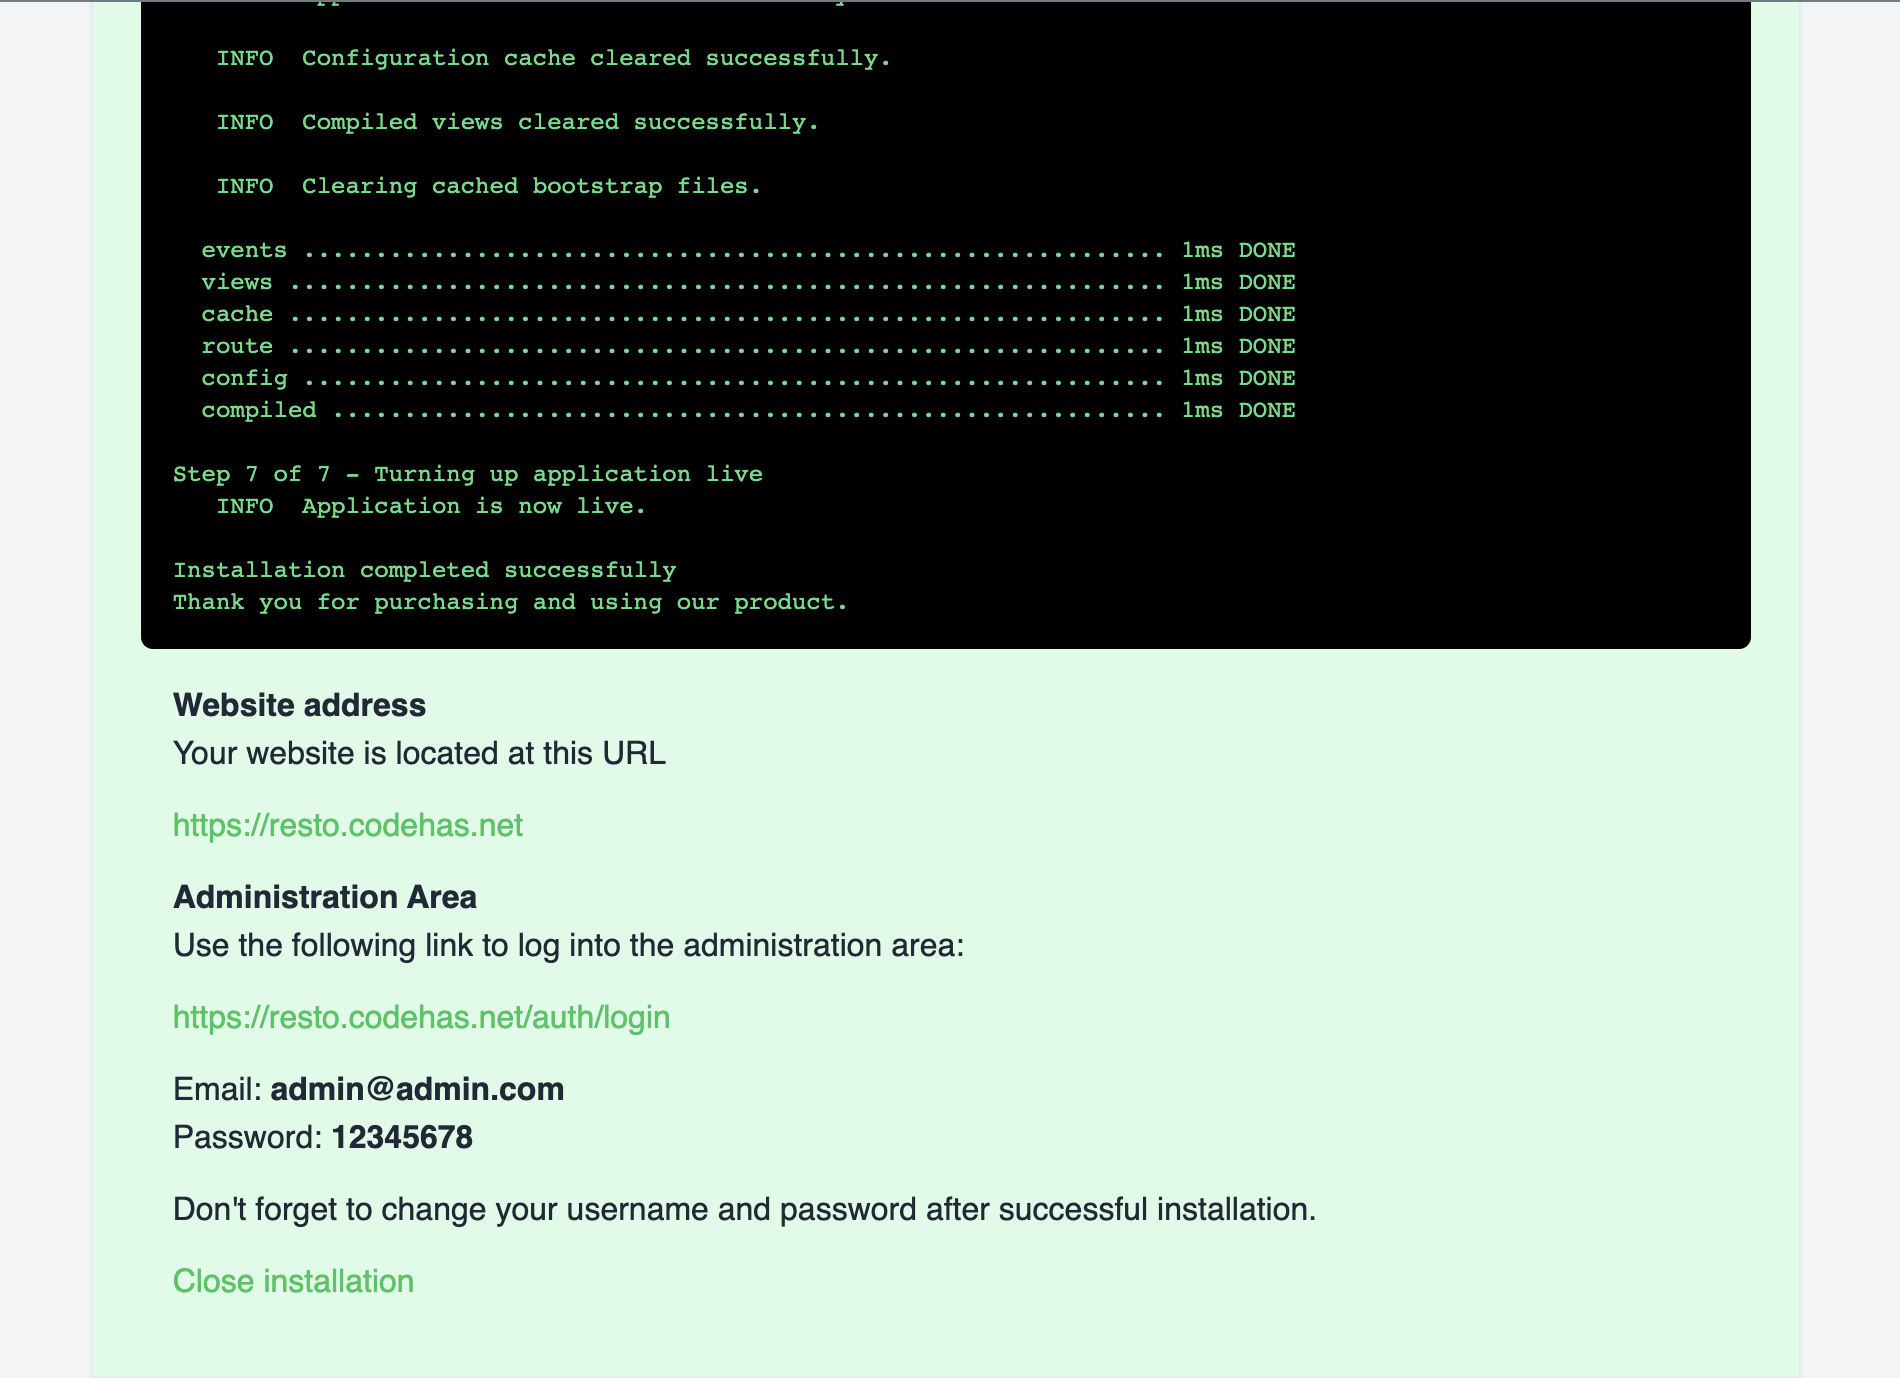
If your filled database credentials are correct installer will run and install. if everything goes smoothly, you will be redirected to the login page (use the default log detail to log in).
{% endhint %}
**Default Login:**
* **For Admin:** `admin@admin.com`
#### Password for all : `12345678`
{% hint style="danger" %}
Log in by using the above default credentials, and don't forget to change your email/password from the user management
{% endhint %}
{% hint style="info" %}
if you have any issues while the installation process feels free to contact item support. This author's response time can be up to **2 business days**
{% endhint %}